In this guide, we will explore the DHTesp library, a powerful tool for interfacing with DHT temperature and humidity sensors in Arduino projects. The library works for Arduino, ESP8266 and ESP32. We’ll cover everything from basic setup to reading temperature and humidity data, with practical examples that you can implement in your own projects.
You will learn the following in this guide:
- How to install and configure the DHTesp library
- Reading temperature and humidity data from DHT sensors
- Understanding sensor communication and error handling
- Implementing real-world monitoring applications
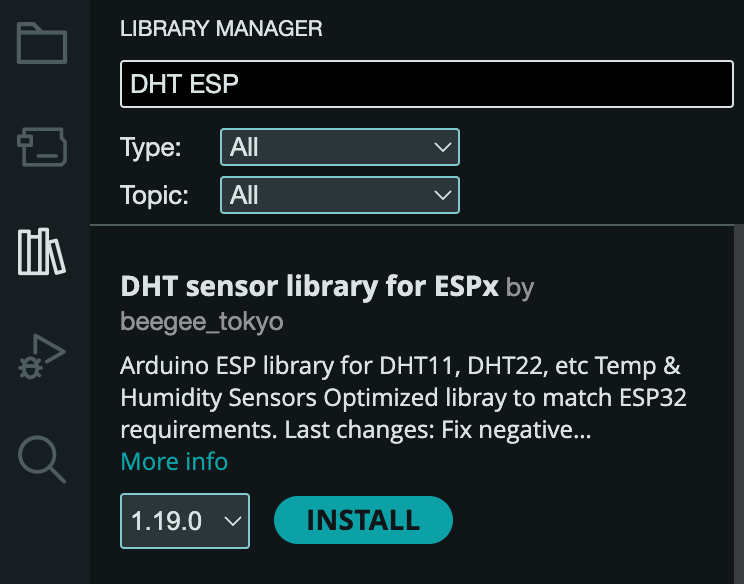
Library Installation
- Open Arduino IDE > Sketch > Include Library > Manage Libraries.
- Search for “DHT ESP” and install it.
Project – Interactive with DHT Sensor
This code is for reading temperature and humidity data from a DHT11 sensor using an Arduino.
Connecting the DHT11 or DHT22 to an Arduino is straightforward. Simply connect the sensor’s VCC to 5V, GND to Ground, and the Data pin to GPIO 2 on the Arduino.
| DHT11/22 | Arduino |
|---|---|
| + | 5V |
| OUT | 2 |
| – | GND |
For the DHT22 sensor, simply set the DHT_MODEL to DHTesp::DHT22.
#include <DHTesp.h>

DHTesp dht;

const int DHT_PIN = 2; // Pin where DHT11 is connected
const DHTesp::DHT_MODEL_t DHT_MODEL = DHTesp::DHT11; //DHT11
const int FREQUENCY = 2000; // Update every 2 seconds

void setup() {
    Serial.begin(9600);
    dht.setup(DHT_PIN, DHT_MODEL); // Initialize the DHT11 sensor
}

void loop() {
    float temperature = dht.getTemperature();
    float humidity = dht.getHumidity();

    if (isnan(temperature) || isnan(humidity)) {
        Serial.println("Failed to read from DHT sensor!");
        return;
    }

    Serial.print("Temperature: ");
    Serial.print(temperature);
    Serial.print(" C\t");

    Serial.print("Humidity: ");
    Serial.print(humidity);
    Serial.println(" %");

    delay(FREQUENCY); //update the reading every 2 seconds
}
Here’s a step-by-step breakdown of how the code works:
Library Inclusion
#include <DHTesp.h>DHTesp is a library that helps you easily interface with DHT sensors like DHT11 and DHT22. It provides functions to read data from the sensor.
Create DHT Object
DHTesp dht;This line creates an object dht of the DHTesp class. This object will be used to interact with the DHT11 sensor and get the temperature and humidity data.
Pin and Sensor Setup
const int DHT_PIN = 2;  _// Pin where DHT11 is connected_
const DHTesp::DHT_MODEL_t DHT_MODEL = DHTesp::DHT11; _//DHT11_
const int FREQUENCY = 2000; _// Update every 2 seconds_
DHT_PIN = 2: The sensor is connected to digital pin 2 of the Arduino board.
DHT_MODEL = DHTesp::DHT11: This specifies that the sensor is a DHT11.
If you were using a DHT22, you would use DHTesp::DHT22.
FREQUENCY = 2000: This sets the delay between each reading to 2 seconds (2000 ms).
Setup Function
void setup() {
      Serial.begin(9600);
      dht.setup(DHT_PIN, DHT_MODEL); _// Initialize the DHT11 sensor_
}
Serial.begin(9600): This starts the serial communication with the computer at a baud rate of 9600. This allows you to print data to the Serial Monitor.
•dht.setup(DHT_PIN, DHT_MODEL): Initializes the DHT11 sensor on the specified pin (DHT_PIN) and the specified model (DHT_MODEL), which is DHT11.
Main Loop
float temperature = dht.getTemperature();
float humidity = dht.getHumidity();
dht.getTemperature(): This function retrieves the temperature reading from the DHT11 sensor.
dht.getHumidity(): This function retrieves the humidity reading from the DHT11 sensor.
Both values are stored in the temperature and humidity variables as floating-point numbers.
Error Checking
if (isnan(temperature) || isnan(humidity)) {
     Serial.println("Failed to read from DHT sensor!");
     return;
}
isnan() checks if the temperature or humidity reading is Not a Number (NaN), which could happen if the sensor failed to provide valid data.
If either value is NaN, an error message is printed to the Serial Monitor, and the loop exits early (return).
Understanding isnan() in Arduino
For a deep understanding of isnan(), you can refer to this article.
Print Data to Serial Monitor
Serial.print("Temperature: ");
Serial.print(temperature);
Serial.print(" C\t");

Serial.print("Humidity: ");
Serial.print(humidity);
Serial.println(" %");
Delay
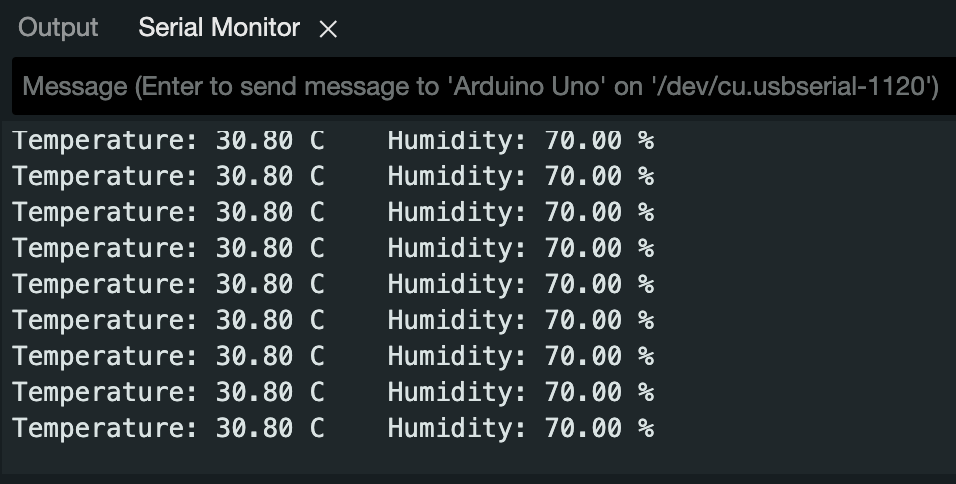
delay(FREQUENCY); _//update the reading every 2 seconds_delay(FREQUENCY) pauses the program for 2 seconds (2000 milliseconds). This ensures the temperature and humidity readings are updated only every 2 seconds, instead of constantly refreshing and flooding the Serial Monitor with data.
This process will continue repeatedly as long as the Arduino is powered on. Here is the output from Serial Monitor.
Summary
This guide demonstrated how to effectively use the DHTesp library to interface with DHT temperature and humidity sensors in Arduino projects. We covered the complete process from hardware setup and library installation to implementing a functional monitoring system. The provided code example shows how to read temperature and humidity data at regular intervals, handle potential errors, and display the results through the Serial Monitor. With this foundation, you can now integrate DHT sensors into your own projects for environmental monitoring, home automation, or any application requiring temperature and humidity measurements.