In this guide, we will explore how to combine DHT temperature/humidity sensors with LCD displays using I2C communication in Arduino projects. We’ll cover everything from library installation to implementing a complete monitoring system that displays real-time environmental data on a 20×4 LCD screen.
You will learn the following in this guide:
- How to install and configure the required libraries (DHTesp and LiquidCrystal_I2C)
- Setting up I2C communication with the LCD display
- Reading and displaying temperature and humidity data
- Implementing non-blocking updates using millis()
- Creating a professional-looking display interface
Wiring
| DHT11 | Arduino |
|---|---|
| + | 5V |
| OUT | 2 |
| – | GND |
| LCD | Arduino |
|---|---|
| VCC | 5V |
| GND | GND |
| SDA | SDA |
| SCL | SCL |
![[DHT Sensor.jpg]]

LCD 2004
The LCD 2004 is a 20×4 character LCD that can display 20 characters per row over 4 rows. It is commonly used in electronics projects for visual output. By default, LCDs require multiple GPIO pins to communicate (RS, E, D4-D7, etc.). However, using an I2C adapter (PCF8574 I2C module) reduces the required connections to just two pins:
- SDA (Serial Data Line)
- SCL (Serial Clock Line)
This significantly simplifies wiring, especially for projects with limited GPIOs (like ESP32, Arduino Nano, etc.).
The I2C module on the LCD has a unique address (typically 0x27 or 0x3F), but this can vary depending on the manufacturer. If the wrong address is used, the LCD won’t work.
Before using LCD 2004, we have to run I2C scanner to get it’s I2C address. The one we have uses address 0x27.
I2C Address Scan
Install library
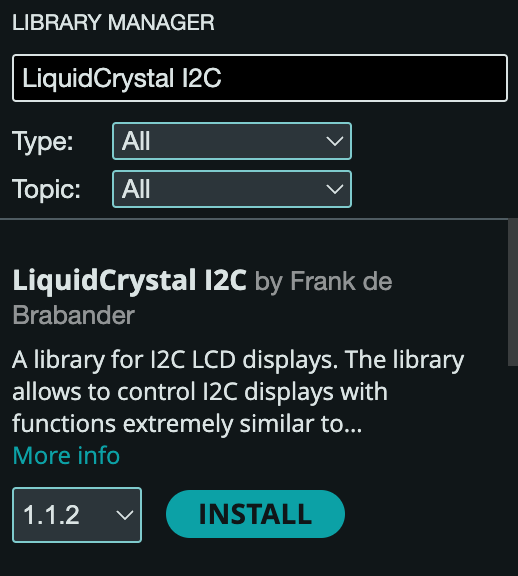
- Go to Sketch > Include Library > Manage Libraries…
- Search for LiquidCrystal I2C and install it.
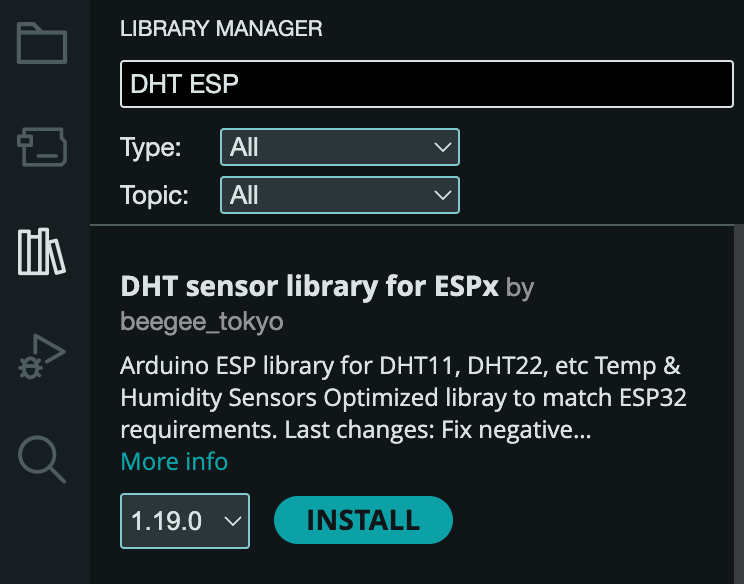
- Search for “DHT ESP” and install it.
Code
#include <DHTesp.h>
#include <LiquidCrystal_I2C.h> // LCD library

DHTesp dht;

const int DHT_PIN = 2;  // Pin where DHT11 is connected
const DHTesp::DHT_MODEL_t DHT_MODEL = DHTesp::AUTO_DETECT; //AUTO_DETECT, DHT11 or DHT22
const int FREQUENCY = 1000; // Update every 1 second

// 0x27 is the I2C address of the LCD, 20x4 is the size of the screen
const int LCD_ADD = 0x27;
const int LCD_COL = 20;
const int LCD_ROW = 4;

// Create an LCD object, specify the LCD address and size (columns, rows)
LiquidCrystal_I2C lcd(LCD_ADD, LCD_COL, LCD_ROW);

bool display_colon = true;
unsigned long lastMillis = 0;

void setup() {
  Serial.begin(9600);
  dht.setup(DHT_PIN, DHT_MODEL); // Initialize the DHT sensor

  // Initialize the LCD and set the cursor to the first line
  lcd.begin(LCD_COL, LCD_ROW);
  lcd.backlight();
}

void loop() {
  // Only update every FREQUENCY ms
  if (millis() - lastMillis >= FREQUENCY) {
    lastMillis = millis();

    float temperature = dht.getTemperature();  // Use float for precision
    float humidity = dht.getHumidity();

    if (isnan(temperature) || isnan(humidity)) {
      Serial.println("Failed to read from DHT sensor!");
      return;
    }

    // Display temperature and humidity on the LCD without clearing the screen
    lcd.setCursor(0, 0);
    lcd.print("   LONELY  BINARY   ");
    lcd.setCursor(0, 1);
    lcd.print("--------------------");

    lcd.setCursor(0, 2);
    lcd.print("Temperature: ");
    lcd.print(temperature, 1); // Display temperature with one decimal place
    lcd.write(223);  // ASCII code for degree symbol (°)
    lcd.print("C");

    lcd.setCursor(0, 3);
    lcd.print("Humidity: ");
    lcd.print(humidity, 1); // Display humidity with one decimal place
    lcd.print(" %");

    // Toggle colon display in a non-blocking way
    if (display_colon) {
      lcd.setCursor(12, 2);
      lcd.print(":");
      lcd.setCursor(12, 3);
      lcd.print(":");
    }

    display_colon = !display_colon;  // Toggle colon display state
  }
}
This code is an Arduino project that reads temperature and humidity from a DHT sensor and displays the values on an I2C LCD screen. Let’s go step by step to understand it:
1. Libraries Used
#include <DHTesp.h>
#include <LiquidCrystal_I2C.h> _// LCD library_- DHTesp.h: Library for handling DHT sensors (DHT11, DHT22, etc.).
- LiquidCrystal_I2C.h: Library for controlling I2C LCD displays.
2. Declaring Variables and Constants
DHTesp dht;- dht: Creates an object for the DHT sensor.
const int DHT_PIN = 2;  _// Pin where DHT11 is connected_
const DHTesp::DHT_MODEL_t DHT_MODEL = DHTesp::AUTO_DETECT; _//AUTO_DETECT, DHT11 or DHT22_
const int FREQUENCY = 1000; _// Update every 1 second_- DHT_PIN = 2 → The DHT sensor is connected to GPIO pin 2.
- DHT_MODEL = AUTO_DETECT → The code will automatically detect whether the sensor is DHT11 or DHT22.
- FREQUENCY = 1000 → The sensor data updates every 1 second (1000ms).
const int LCD_ADD = 0x27;
const int LCD_COL = 20;
const int LCD_ROW = 4;- LCD_ADD = 0x27 → The I2C address of the LCD.
- LCD_COL = 20 → The LCD has 20 columns.
- LCD_ROW = 4 → The LCD has 4 rows.
LiquidCrystal_I2C lcd(LCD_ADD, LCD_COL, LCD_ROW);- Creates an LCD object to communicate with the display.
bool display_colon = true;
unsigned long lastMillis = 0;- display_colon → Controls whether a colon (:) should be displayed.
- lastMillis → Used for non-blocking timing (instead of delay()).
3. setup() Function
void setup() {
  Serial.begin(9600);
  dht.setup(DHT_PIN, DHT_MODEL); // Initialize the DHT sensor

  // Initialize the LCD and set the cursor to the first line
  lcd.begin(LCD_COL, LCD_ROW);
  lcd.backlight();
}- Serial.begin(9600); → Enables serial communication for debugging.
- dht.setup(DHT_PIN, DHT_MODEL); → Initializes the DHT sensor.
- lcd.begin(LCD_COL, LCD_ROW); → Initializes the LCD.
- lcd.backlight(); → Turns on the LCD backlight.
4. loop() Function
(A) Checking the Time Interval
  if (millis() - lastMillis >= FREQUENCY) {
lastMillis = millis();- Ensures the sensor updates every 1 second.
- Uses millis() instead of delay() to keep the program non-blocking.
(B) Reading Temperature & Humidity
    float temperature = dht.getTemperature();  // Use float for precision
float humidity = dht.getHumidity();- Reads temperature and humidity as floating-point numbers.
(C) Checking if the Sensor is Working
    if (isnan(temperature) || isnan(humidity)) {
      Serial.println("Failed to read from DHT sensor!");
      return;
}- If the sensor fails, it prints an error message and exits the loop iteration.
5. Displaying Data on LCD
(A) Displaying the Header
    lcd.setCursor(0, 0);
    lcd.print("   LONELY  BINARY   ");
    lcd.setCursor(0, 1);
lcd.print("--------------------");- Displays “LONELY BINARY” (your brand name) at the top row.
- Draws a separator line.
(B) Displaying Temperature
    lcd.setCursor(0, 2);
    lcd.print("Temperature: ");
    lcd.print(temperature, 1); // Display temperature with one decimal place
    lcd.write(223);  // ASCII code for degree symbol (°)
lcd.print("C");- Prints Temperature: followed by the temperature value with 1 decimal place.
- Uses lcd.write(223); to print the degree symbol (°C).
(C) Displaying Humidity
    lcd.setCursor(0, 3);
    lcd.print("Humidity: ");
    lcd.print(humidity, 1); // Display humidity with one decimal place
lcd.print(" %");- Prints Humidity: followed by the humidity value.
6. Blinking Colon Effect
    // Toggle colon display in a non-blocking way
    if (display_colon) {
      lcd.setCursor(12, 2);
      lcd.print(":");
      lcd.setCursor(12, 3);
      lcd.print(":");
    }

display_colon = !display_colon; // Toggle colon display state- Displays a blinking colon (:) at column 12.
- display_colon = !display_colon; toggles the colon on/off every second.
Summary
This guide demonstrates how to create a complete environmental monitoring system using a DHT sensor and LCD display. The implementation uses best practices such as non-blocking updates, proper error handling, and efficient I2C communication. The resulting system provides a professional-looking interface that continuously displays temperature and humidity readings with visual elements like degree symbols and animated colons.