In this project, we’ll build an IoT project that display real-time temperature and humidity data from the DHT22 sensor using an ESP32. The ESP32 is ideal for this project because it supports WiFi, making it easy to upload the data to the cloud. By the end of this project, we will create a custom dashboard that can be accessed on an iPhone to view the real-time data.
Here’s a step-by-step guide:
1. Set Up Arduino Cloud:
- First, sign in to the Arduino Cloud.
- Create a new Thing (device) for the ESP32.
- Note down your Device ID and Secret ID, as you’ll need them in the code.


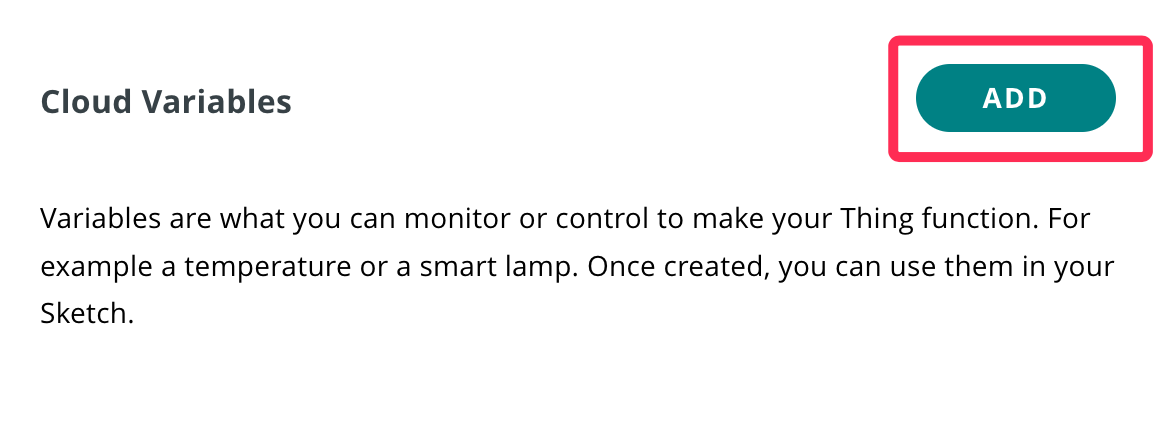
- On Arduino Cloud, create new Things for your ESP32.
- Add variables to represent the temperature and humidity readings. Make sure the variable types are set to float for both temperature and humidity.


Select the Temperature and Humidity variables (things) and associate them with the ESP32 device we just created.


Add your local WiFi SSID, password, and the Secret Key for the ESP32 that you obtained when creating the device.

Click on the Sketch and let’s modify the code to retrieve data from the DHT22 sensor. Connect DHT22 to ESP32’s GPIO23
| DHT22 | ESP32 |
|---|---|
| + | 3.3V |
| OUT | GPIO 23 |
| – | GND |

#include "thingProperties.h"
#include <DHTesp.h>

DHTesp dht;

const int DHT_PIN = 23; // Pin where DHT11 is connected
const DHTesp::DHT_MODEL_t DHT_MODEL = DHTesp::DHT22; //DHT11

unsigned long previousMillis = 0;
const long interval = 2000;  // Interval in milliseconds (2 second)

void setup() {
  Serial.begin(9600);

  dht.setup(DHT_PIN, DHT_MODEL);

  initProperties();
  ArduinoCloud.begin(ArduinoIoTPreferredConnection);

}

void loop() {
  ArduinoCloud.update();

  unsigned long currentMillis = millis();
  if (currentMillis - previousMillis >= interval) {
    previousMillis = currentMillis;
    temperature=dht.getTemperature();
    humidity=dht.getHumidity();
  }

}
Upload the code to the ESP32. Once it’s uploaded, you should see the ESP32 appear online under Things. The values from the Thing will be updated every 10 seconds.


Let’s create a dashboard for iPhone viewing.
- Go to Arduino Cloud: Open the Dashboard section in the Arduino Cloud platform.
- Create a New Dashboard: Click on Create New Dashboard and give it a name (e.g., “Temperature & Humidity Monitor”).
- Add Widgets:
- Add a Value for the temperature.
- Add a Percentage Widget for the humidity.
- Link the Widgets to the Variables: Connect each widget to the corresponding cloud variable (Temperature and Humidity) that you created earlier.
- Customize the Appearance: Adjust the settings and color scheme to fit your preference.
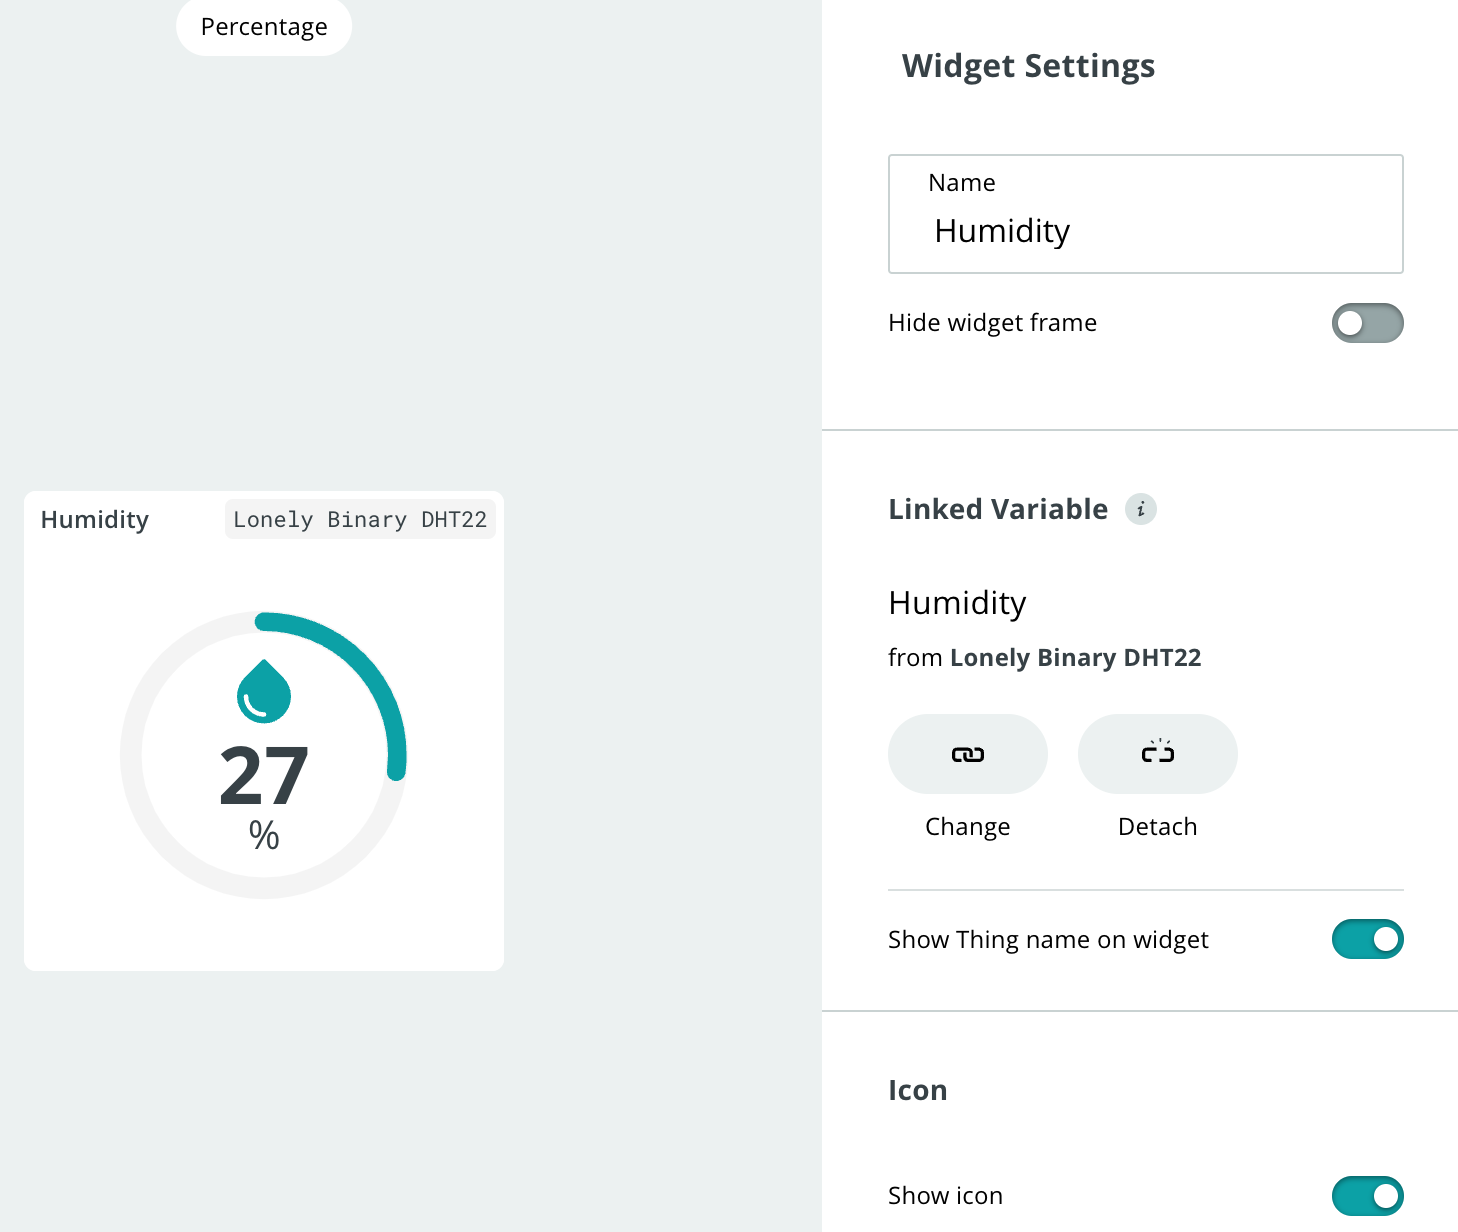

Now, your dashboard is ready! You can access it on your iPhone using the Arduino IoT Cloud Remote app.
